As we delve into the realm of DIY integrated amplifier upgrades and modifications, we embark on a captivating journey where technical prowess and creative vision intertwine. Whether you’re a seasoned audio engineer or a curious beginner, the world of DIY integrated amplifier upgrades awaits, promising enhanced audio quality, customization options, and the unparalleled satisfaction of creating your audio masterpiece. So, let’s embark on this voyage together, exploring the art and science of taking your integrated amplifier to new sonic heights.
Why Upgrade and Modify Integrated Amplifiers?
Integrated amplifiers serve as the heart and soul of any audio system, amplifying the delicate nuances of your favorite music. While many enthusiasts start with off-the-shelf amplifiers, a growing number are drawn to the exciting world of DIY upgrades and modifications. This section explores the compelling reasons behind this trend.
The benefits of DIY upgrades
- Improved sound quality: One of the most alluring benefits of DIY upgrades is the potential for significantly enhanced sound quality. By carefully selecting and upgrading components like capacitors, resistors, and op-amps, you can unlock hidden potential within your amplifier. The result? Crisper highs, tighter lows, and a richer overall audio experience that lets you rediscover your music collection.
- Customization options: DIY upgrades offer a playground of customization possibilities. From tweaking the amplifier’s tonal characteristics to fine-tuning its performance for specific music genres, the power to tailor your sound lies in your hands. You become the audio engineer, sculpting your amplifier to match your unique preferences.
- Cost-effectiveness: Surprisingly, DIY upgrades can be cost-effective. Rather than splurging on a high-end amplifier, you can gradually invest in components and modifications that matter most to you. This approach not only saves money but allows you to prioritize upgrades based on your priorities.
The satisfaction of a hands-on approach to audio
Imagine the satisfaction of knowing every wire, capacitor, and resistor inside your amplifier intimately. DIY upgrades provide a hands-on education in audio electronics, turning enthusiasts into true audio artisans. It’s a deeply rewarding experience that fosters a profound connection with your audio system.
Common motivations for enthusiasts
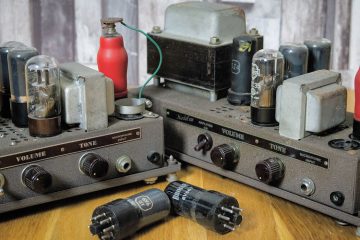
Enthusiasts are often motivated by the pursuit of audio perfection. Whether it’s achieving a vintage tube amplifier’s warmth, optimizing for a specific listening environment, or simply experimenting with different components, the desire to unlock an amplifier’s full potential is a driving force behind DIY modifications. Additionally, the sense of accomplishment derived from turning a stock amplifier into a customized masterpiece is a powerful motivator for audiophiles worldwide.

Getting Started with DIY Integrated Amplifier Upgrades
Embarking on the journey of upgrading your integrated amplifier can be an immensely rewarding endeavor, but it’s essential to begin with a solid foundation of knowledge and preparation. In this section, we’ll explore the crucial steps to get you started on the right foot.
Tools and equipment you’ll need
Before diving into amplifier upgrades, gather the essential tools and equipment you’ll require. This includes a soldering iron and solder, wire cutters and strippers, a multimeter for testing, screwdrivers, pliers, and a workspace with good lighting and ventilation. Additionally, invest in a quality soldering station and safety gear like safety goggles and heat-resistant gloves to ensure a safe and efficient work environment.
Safety precautions and guidelines
Safety should always be a top priority when working on electronics. Turn off and unplug your amplifier before starting any work. Capacitors can store dangerous levels of electricity even when disconnected, so discharge them safely. Follow manufacturer guidelines and always double-check wiring and connections. If you’re unsure about any aspect of the process, seek advice from experienced individuals or professionals.
Selecting the right amplifier for modification
Not all amplifiers are created equal when it comes to modification potential. Research and choose an amplifier model that is known for being mod-friendly and has available documentation or community support. Selecting the right amplifier will significantly impact the success and ease of your DIY project.
Understanding your skill level and limitations
Assess your current knowledge and skills in electronics and soldering. DIY amplifier upgrades can range from beginner-friendly tweaks to advanced circuit modifications. Be honest with yourself about your abilities and comfort level. It’s perfectly fine to start with simpler upgrades and gradually work your way up as you gain experience and confidence. Learning and growing in this hobby is part of the fun and satisfaction it offers.
Popular Upgrades and Modifications
Now that you’ve taken your first steps into the world of DIY integrated amplifier upgrades, let’s explore the exciting realm of popular modifications that can transform your amplifier into a sonic masterpiece.
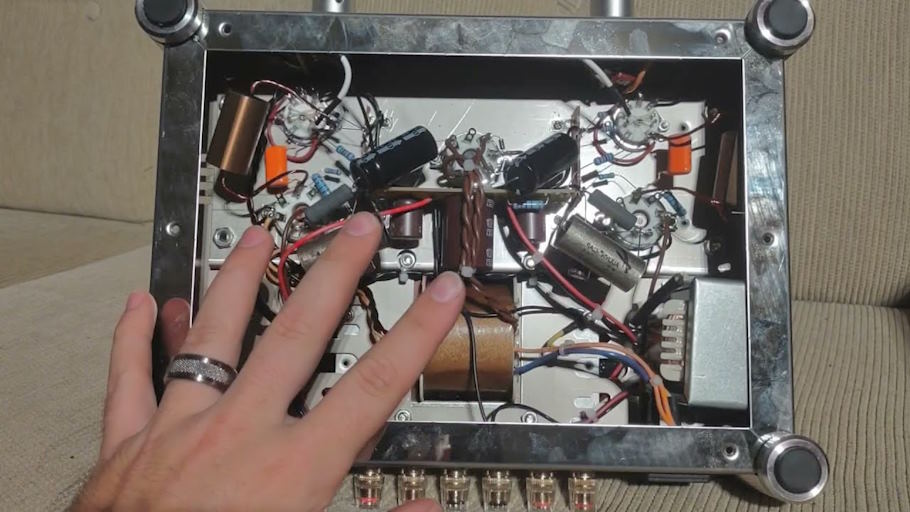
Upgrading capacitors and resistors
Capacitors and resistors are essential components within an amplifier’s circuitry. By replacing stock components with high-quality, audiophile-grade alternatives, you can enhance the amplifier’s signal path and reduce distortion, resulting in cleaner, more accurate sound reproduction.
Replacing op-amps and tubes
Op-amps and tubes play a crucial role in shaping an amplifier’s character. Swapping out these components for different models or higher-quality options can dramatically alter the amplifier’s tonal qualities, allowing you to fine-tune it to your preferred sound signature.
Enhancing power supply components
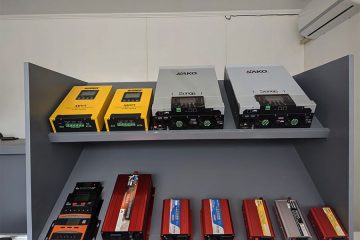
A robust and stable power supply is vital for consistent amplifier performance. Upgrading components like rectifiers, voltage regulators, and capacitors in the power supply section can reduce noise and improve power delivery, resulting in tighter bass and improved dynamics.
Improving wiring and connectors
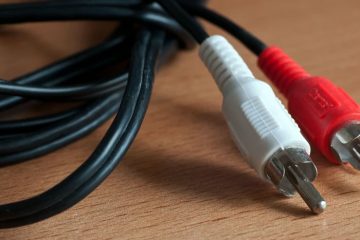
Signal integrity is paramount in audio systems. Replacing stock wiring and connectors with higher-quality options can minimize signal loss and interference, resulting in clearer audio and a reduction in background noise.
Isolation and vibration control
Isolating your amplifier from external vibrations and reducing internal vibrations can significantly enhance sound quality. Isolation platforms, damping materials, and anti-vibration feet can help achieve this, resulting in tighter bass and improved imaging.
Case and chassis modifications
Modifying the amplifier’s case and chassis can have both aesthetic and functional benefits. Customizing the appearance allows you to create a unique piece of audio art, while structural enhancements can reduce vibrations and electromagnetic interference.
Adding or upgrading digital features (DACs, Bluetooth, etc.)
Modernizing your amplifier by adding digital features like a Digital-to-Analog Converter (DAC) or Bluetooth connectivity can bring it up to date with current technology trends, allowing you to stream music wirelessly or enjoy high-resolution audio playback.